Dear Readers, I finally have some quilty business to report! Last week, I pieced the backing of my quilt and on Friday I got it off of my studio floor; that means all the quilting designs drawn and all the safety pins and thread basted. I thought I would never get to this stage; it took me ages to decide on the quilting motif alone. I remember sitting in the car on our US road trip worrying about what design I should choose. I knew I needed one that was modern and geometric, yet still maintained a touch of playfulness. In each quilt shop I visited, I spent a lot of time looking for a book of quilting designs, and eventually found “501 Quilting Motifs” in a Barnes and Noble bookstore.

You can buy this book on Amazon here.
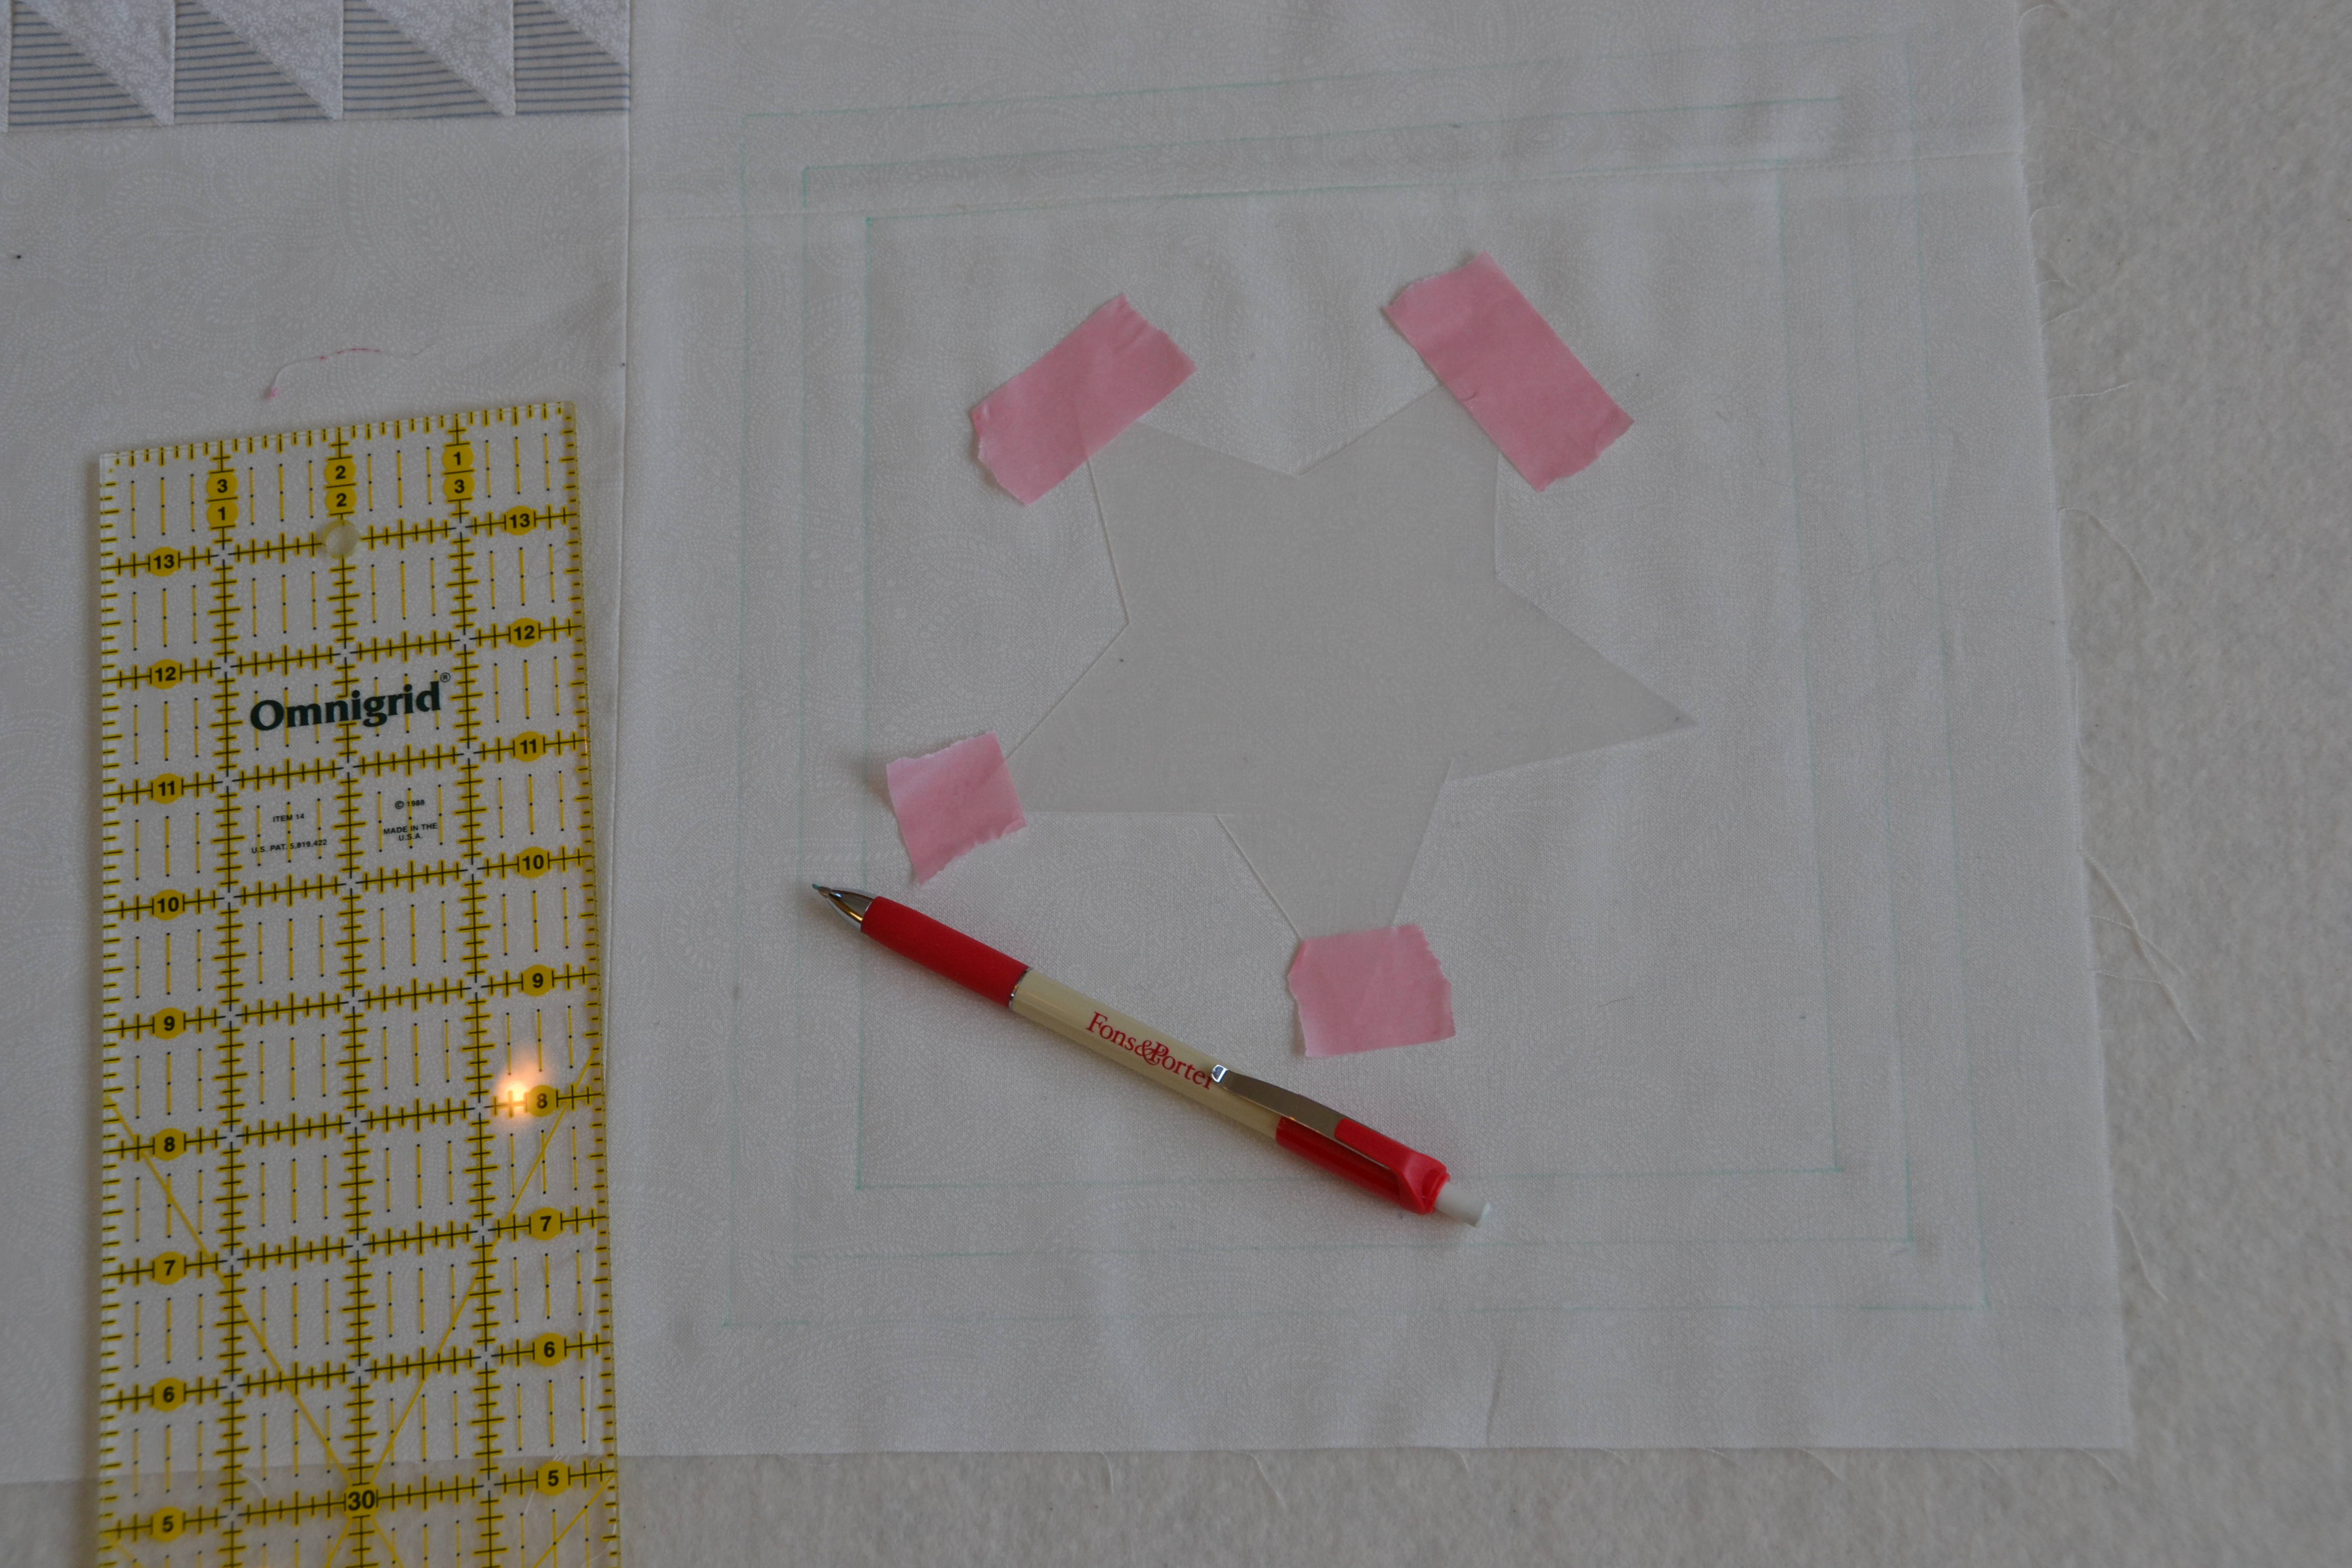
With a book like that you would think that I had all the designs I could dream of, right at my fingertips, and yet I could simply not decide on one of them. It wasn’t until I was pressing my finished quilt top that I came up with the idea to quilt stars in the borders, as one of the fabrics had stars on it. As the book didn’t have the sized stars I wanted, and I didn’t have a photocopier at hand, I began to look for designs on Pinterest, where I was able to find the simple star shape, I was looking for. After transferring this to transparent template sheets, I was finally on my way.
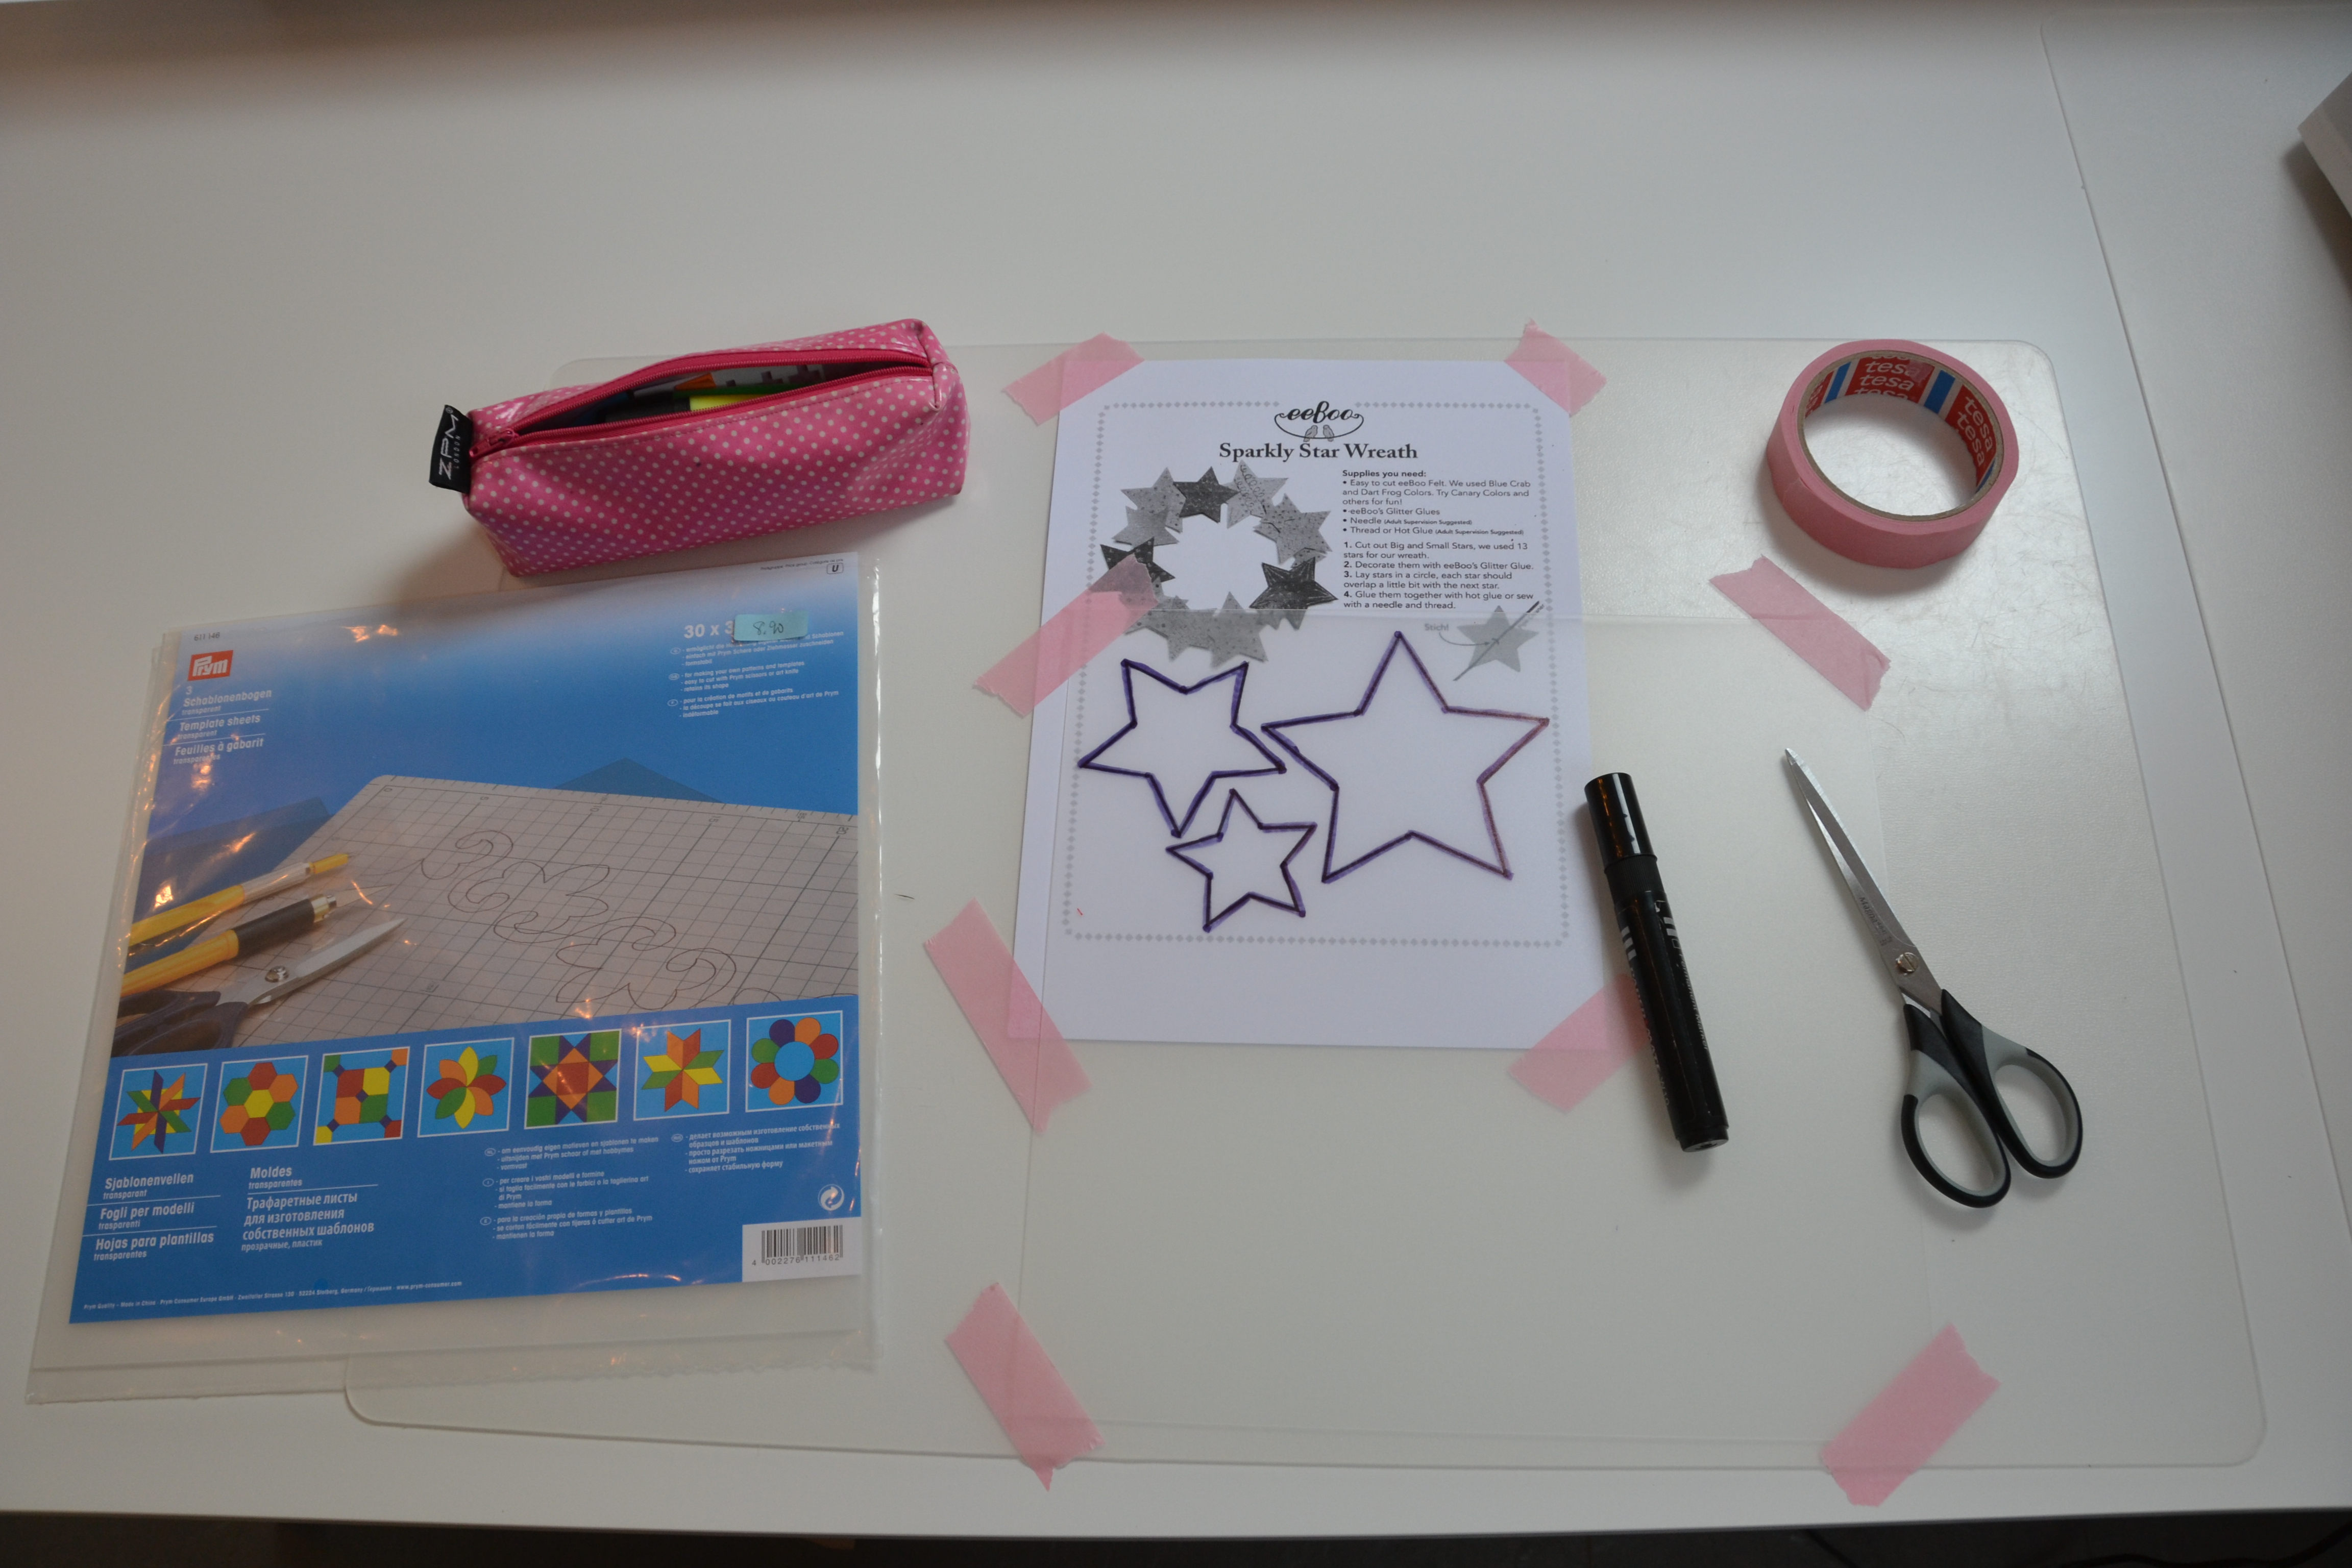
I can’t tell you how much I enjoyed making the templates and coming up with a design for the borders. It was great to do something other than cutting fabric and piecing for a change. The process made me realize what an art the quilting design alone can be. Even if you have a motif, you still need to decide how you are going to work the design into your quilt, to enhance the piecing. It was amazing just tracing the templates and having all these ideas flutter into my head on how I could lay them out to create different designs. Perhaps next time I will take a bit more time with this part of the process, but I was just too eager to get to the quilting part.
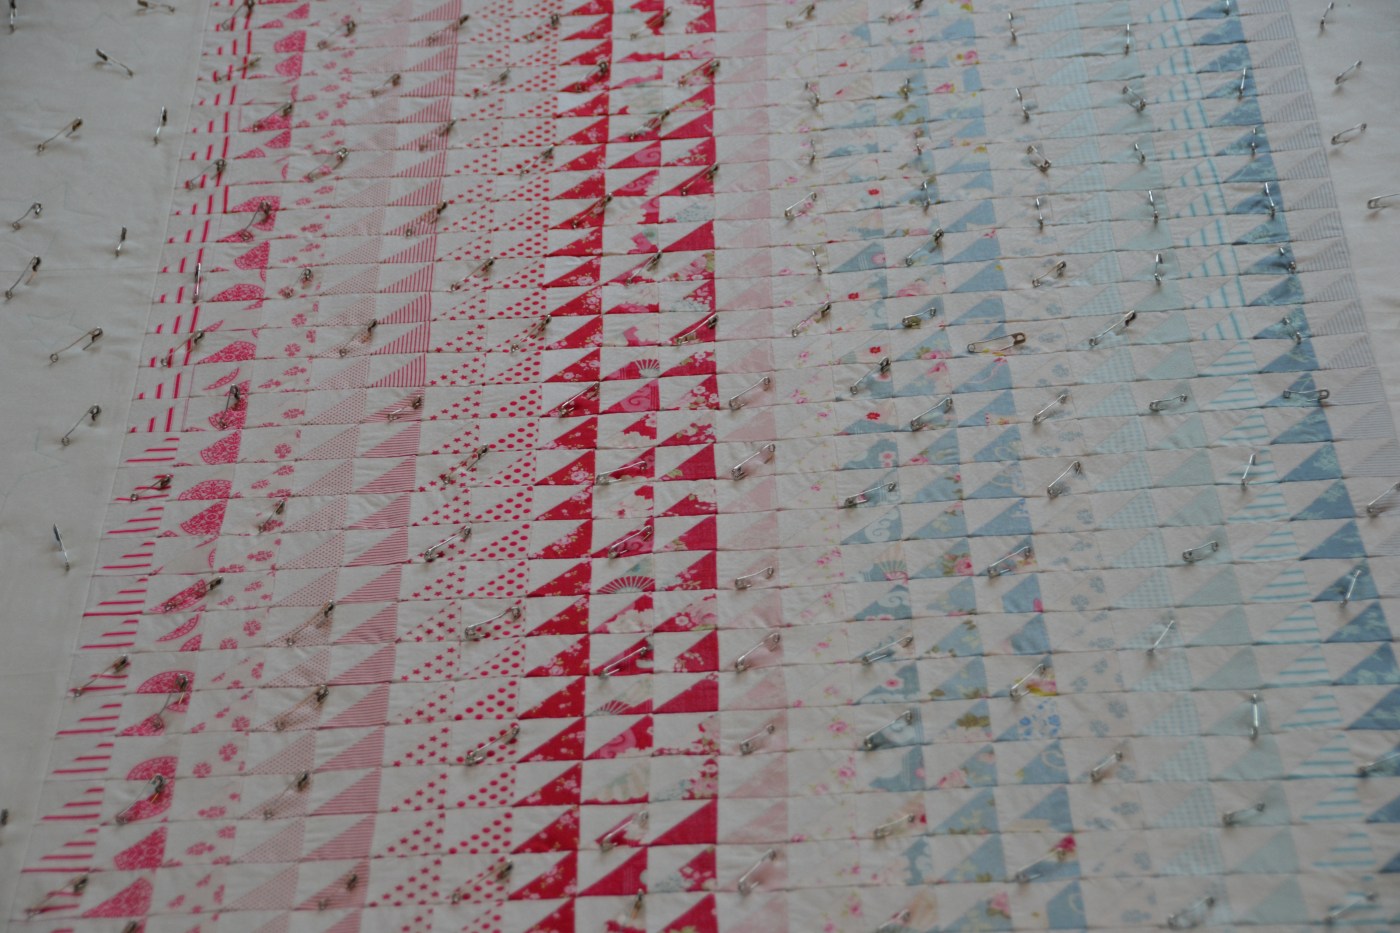
After spending the good part of the day on the floor, drawing on the designs, pin basting and finally thread basting the edges I had completed my quilt sandwich.
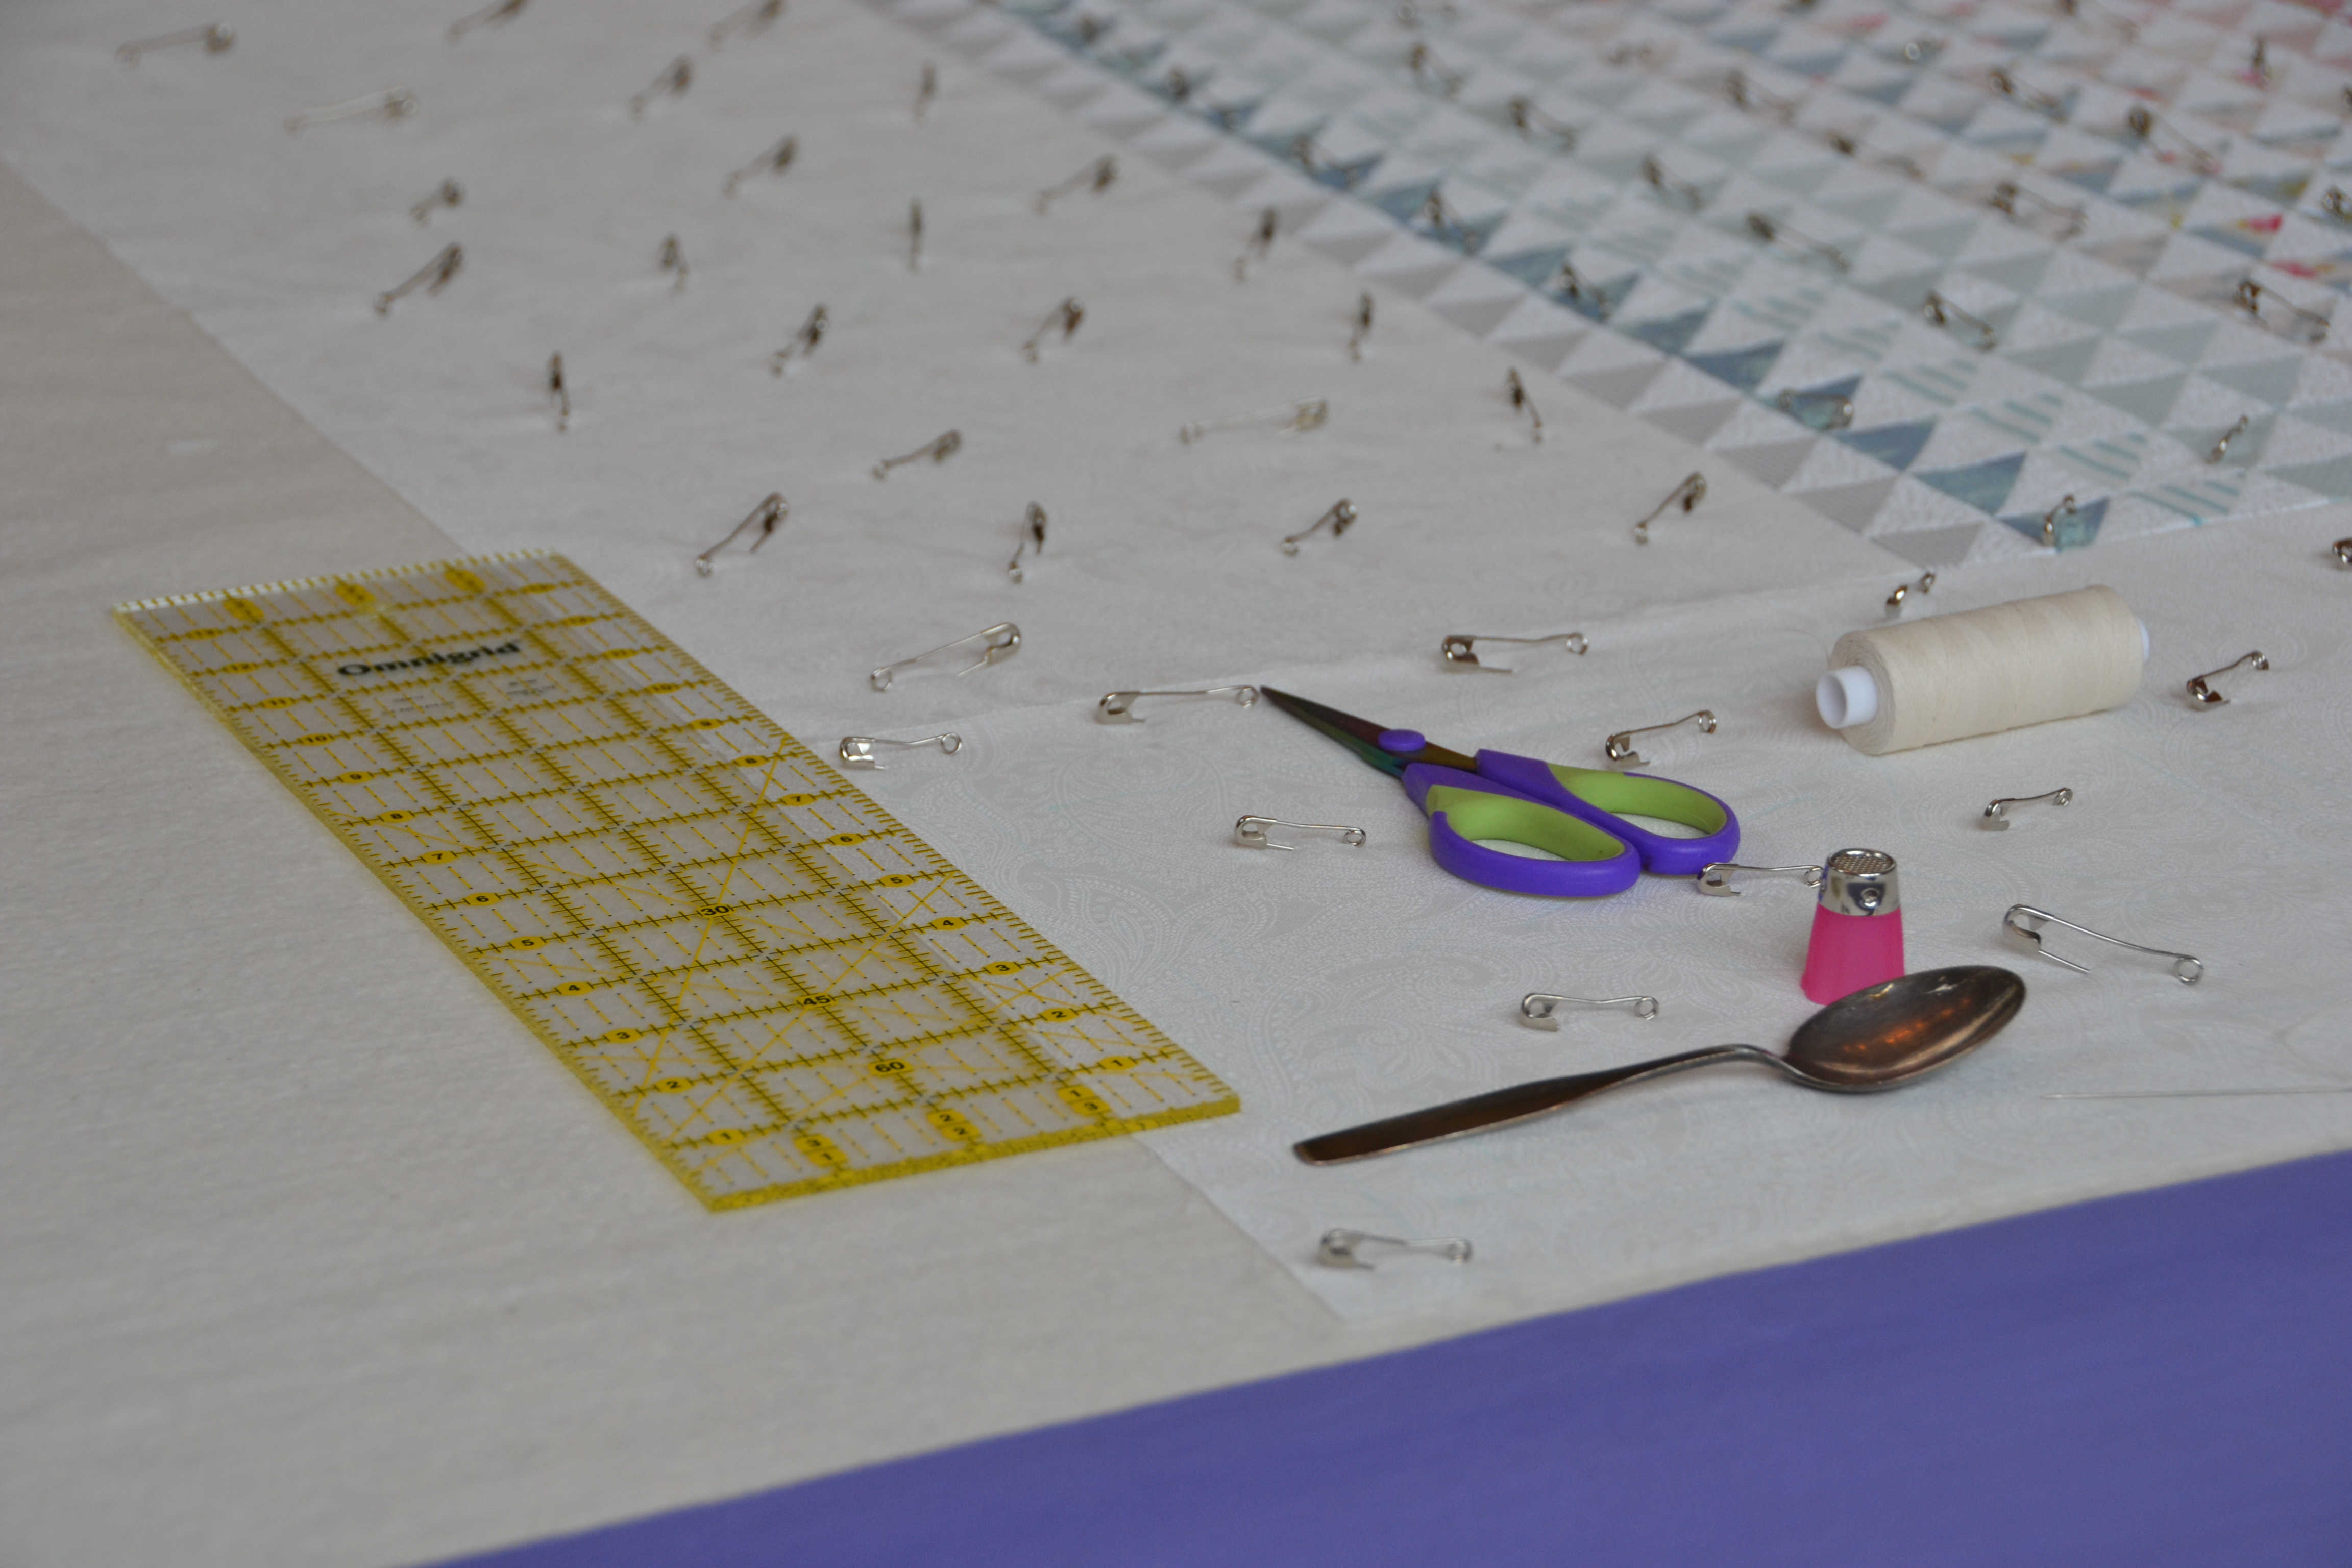
I couldn’ t have done it without my new best friend: my purple yoga mat. Measuring a thickness of 3/8ths of an inch, it was a savior to my knees and joints. My physiotherapist recommended I use it to stand on when I am cutting fabric, to prevent my foot problem but it works great, as a cushion, if you have to baste on your floor too! So here is a few shots of the finished quilt sandwich.
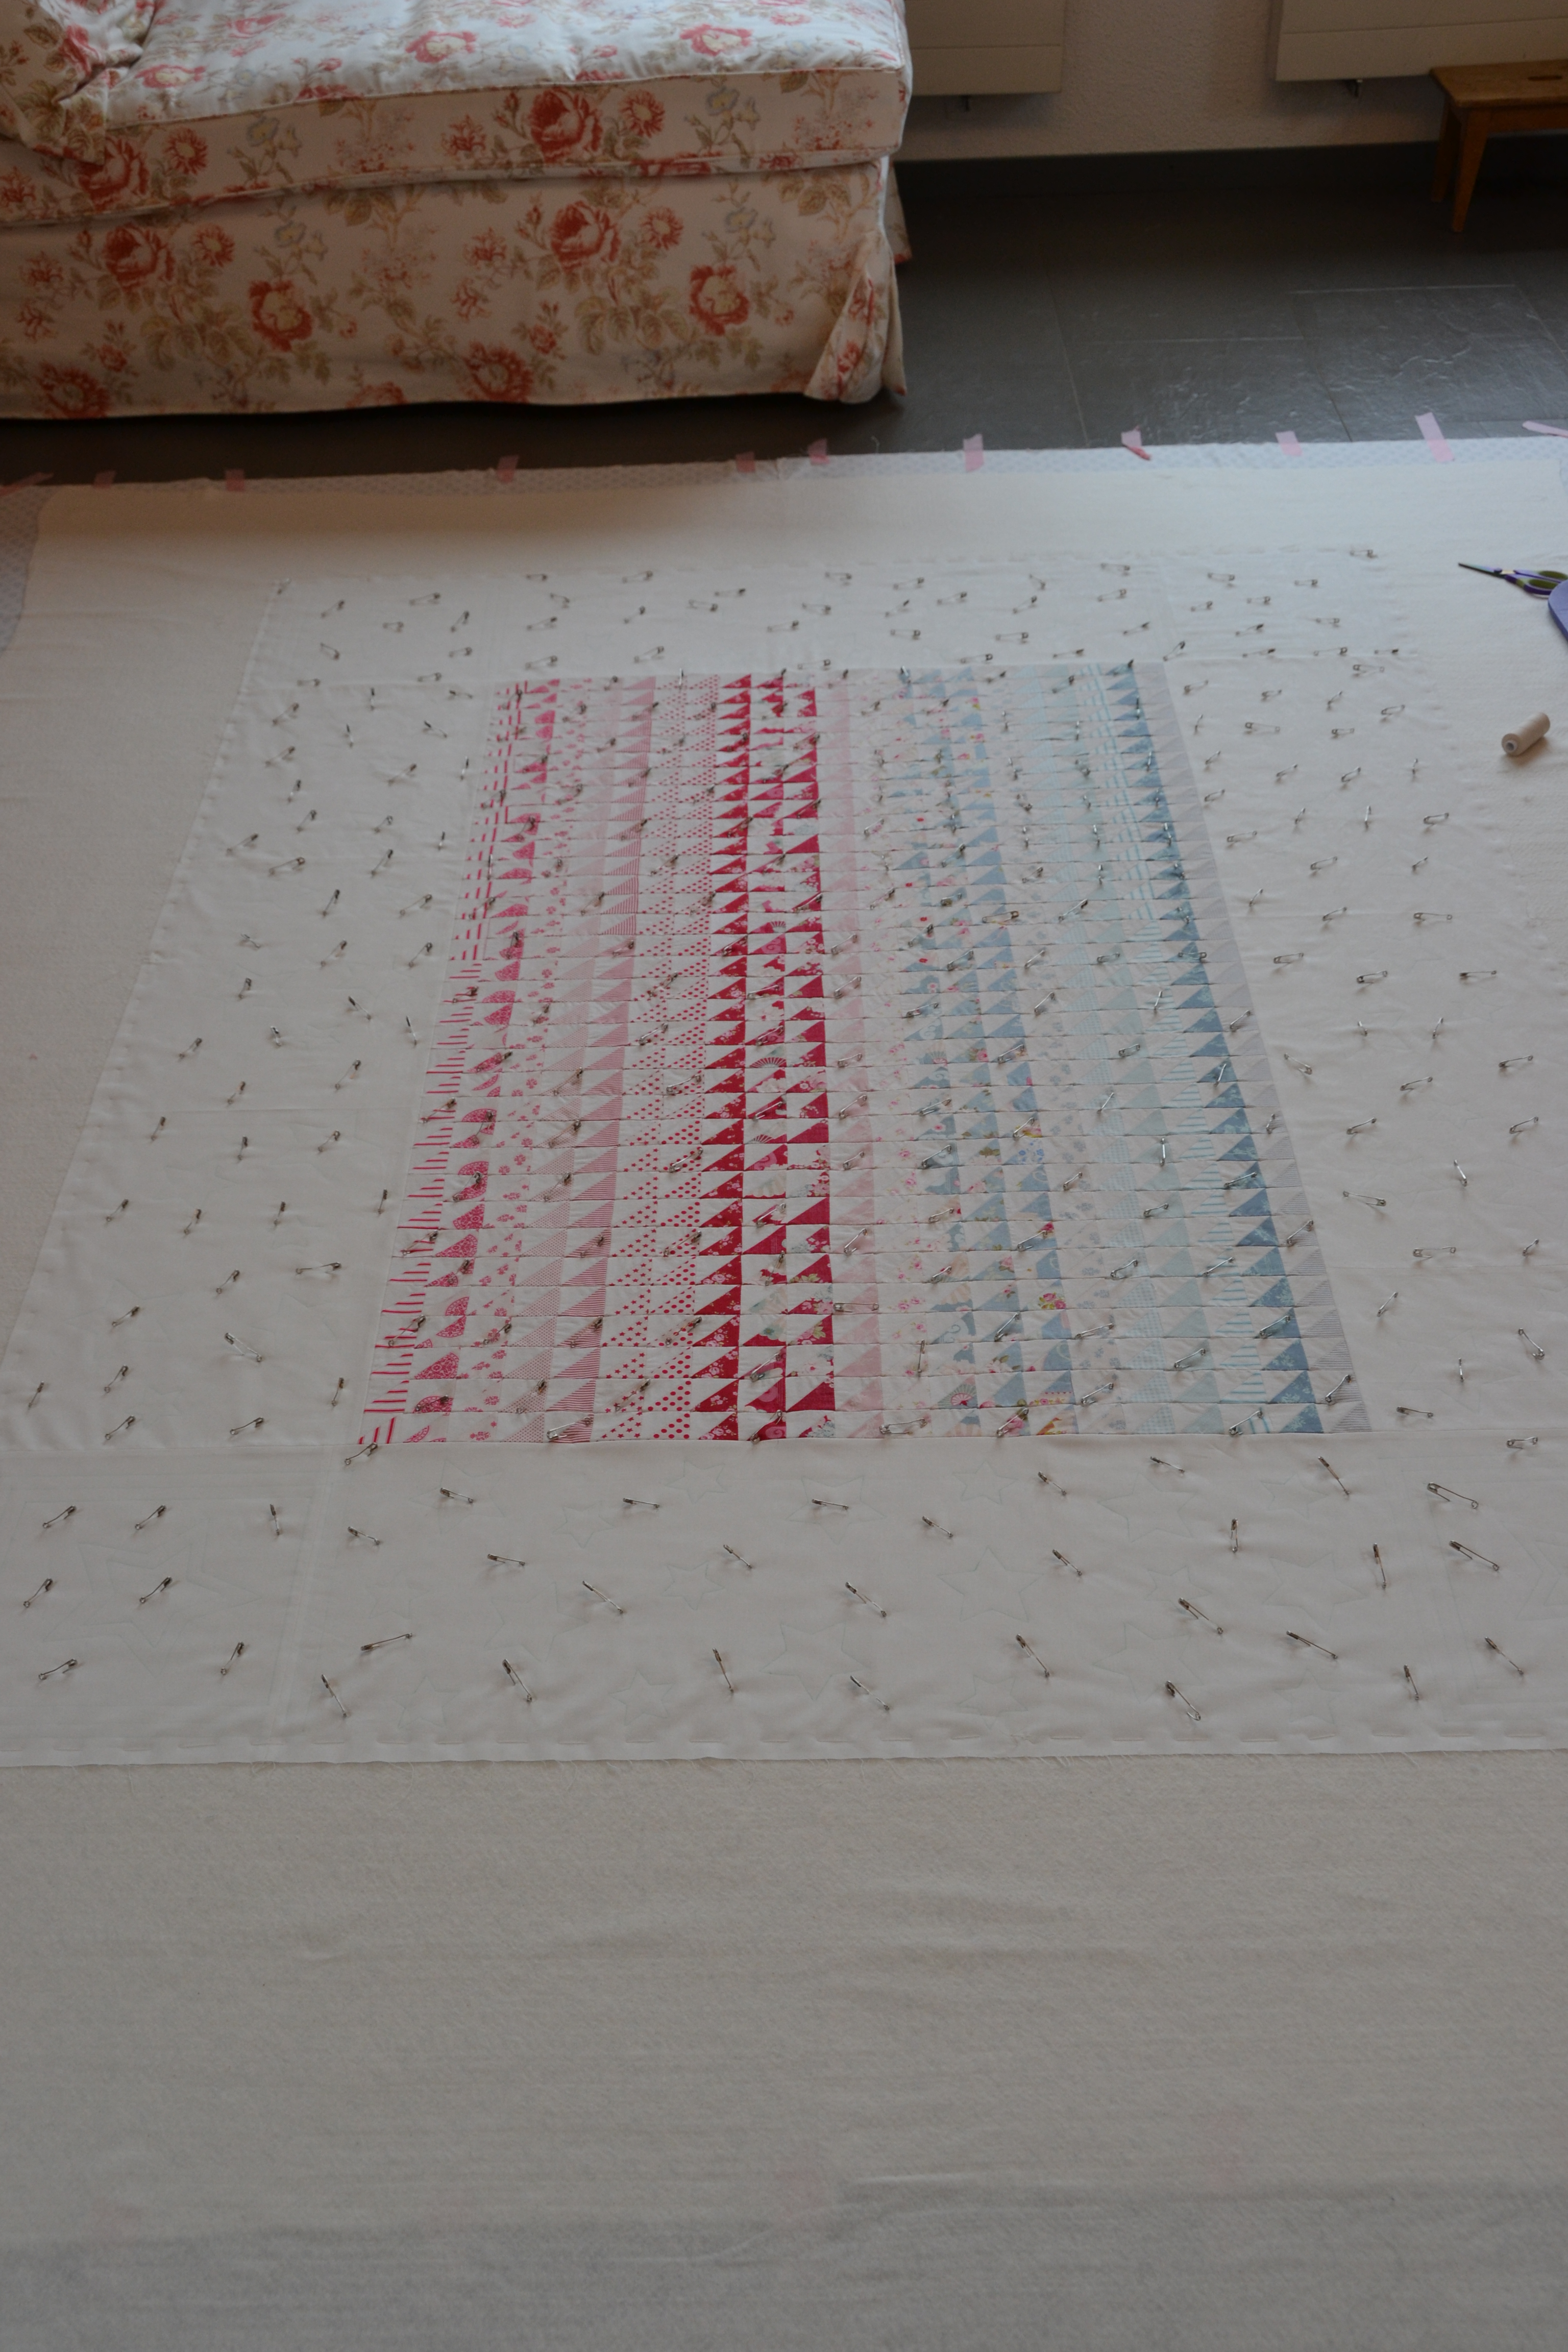
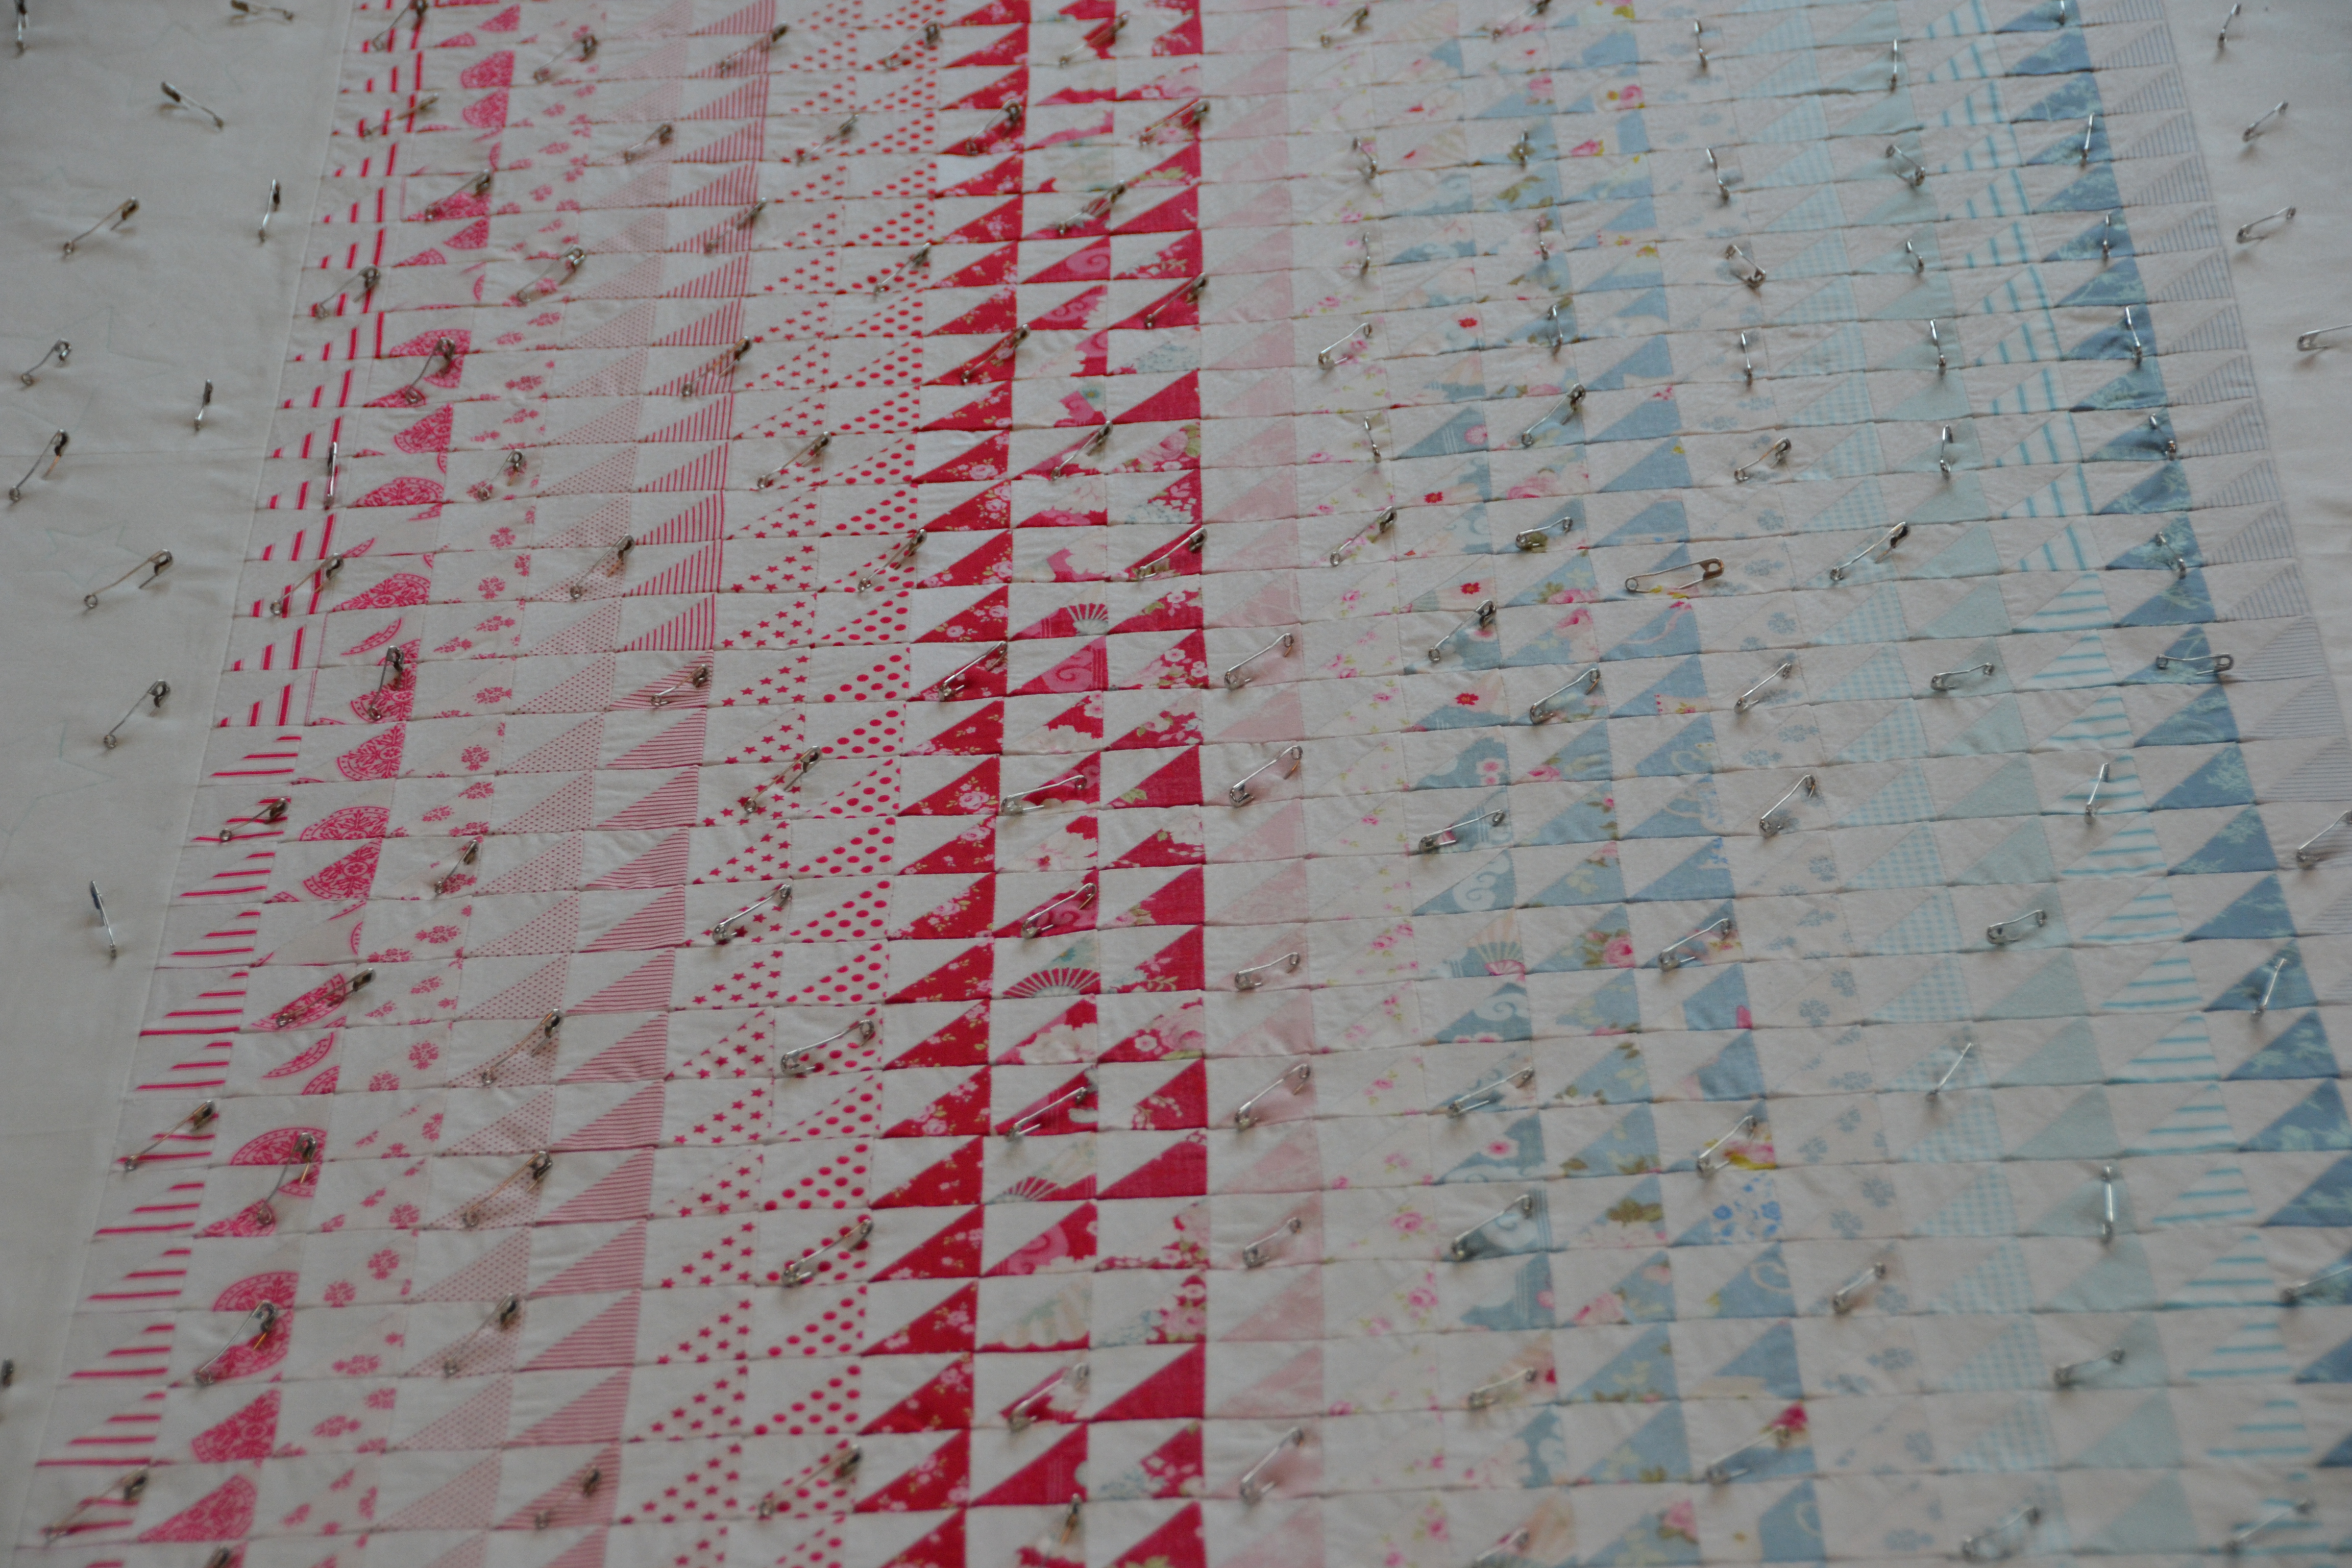
On Saturday I started hand quilting the little half-square triangles, simply tracing the outline of the white triangles. I abandoned my hoop early on in the process, but it’s challenging enough as it is, trying to master the rocking motion, let alone fighting with the hoop.
So what have you been up to lately? Do you have any creative projects you are working on? Send me a line or two, I’d love to hear from you!
Jodie


I adore your little half square triangles! It’s modern, fresh, yet sings of tradition all at the same time.
LikeLike
Thanks so much, they were the hell to cut and sew back together but I love them!
LikeLike