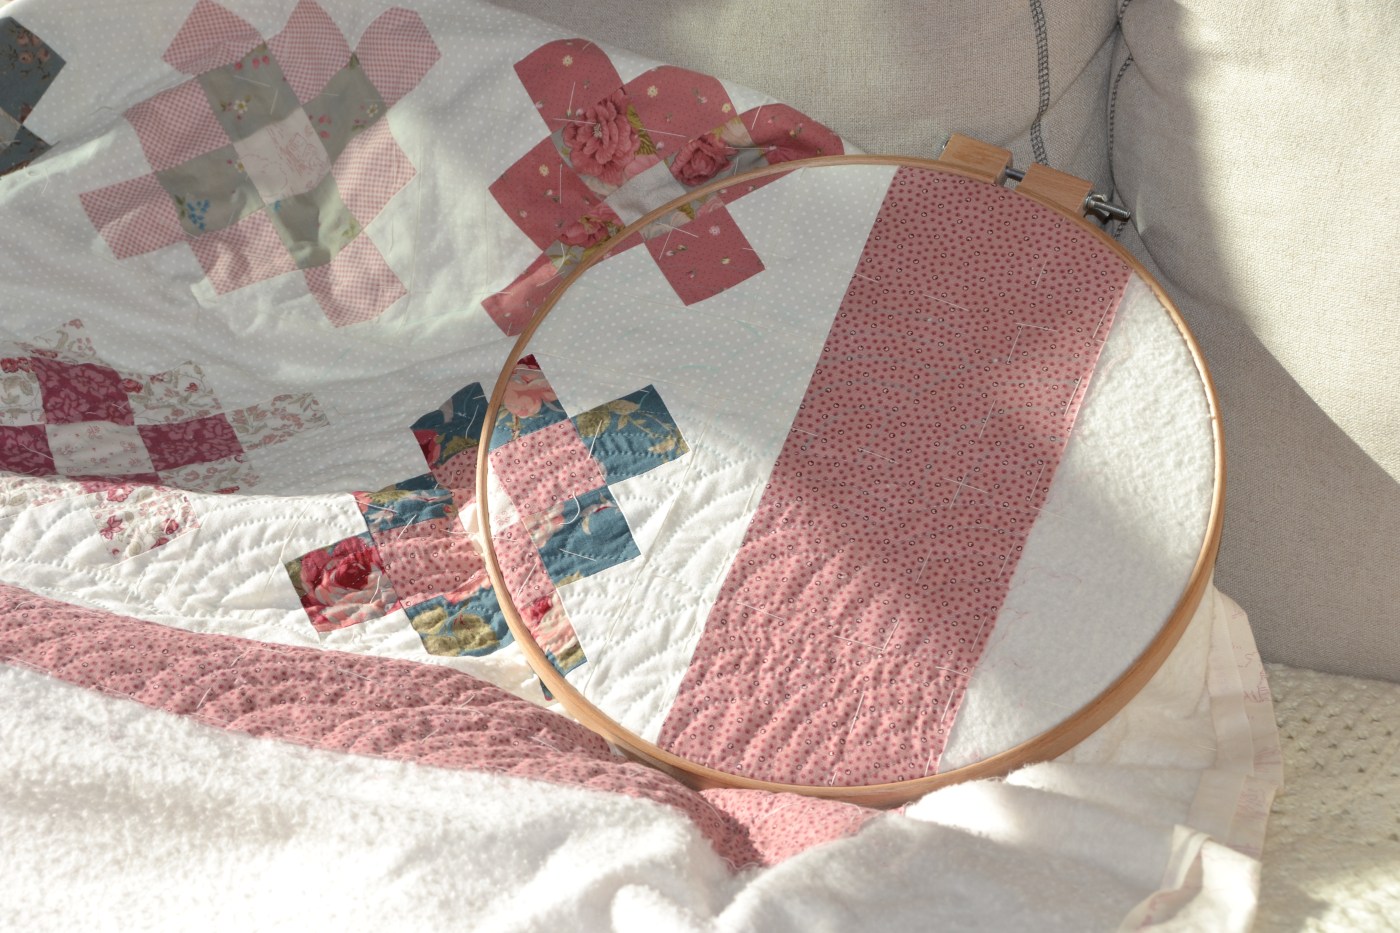
After spending lots of time, searching for a design, I decided the Baptist Fan design would be the best choice for me, fulfilling all my criteria, as well as being a design that suited the traditional nature of the quilt. As I didn’t want to use multiple designs, which would have required a lot of decisions to be made, the Baptist Fan design was perfect as it worked well as an all-over design.
After picking a design, it was time to mark the quilt, but how?
Marking the Quilt Design
On Pinterest I came across several helpful tutorials.
For the machine quilter, I found this excellent tutorial by Elizabeth Dackson of the “Don’t Call Me Betsy” blog, see tutorial here. The tutorial shows step-by-step how to free motion quilt the Baptist Fan design using a “Circle Cut Ruler”. I imagine that this ruler would be useful for hand quilters too.
For the hand quilter, I found the following tutorials to be very informative.
- From Nova at her blog “A cuppa and a catch up” there was this one here which uses a paper template.
- Bonnie Hunter had this post about baptist fans on her blog “Quiltville’s Quips and Snips!”, which showed her simple method of hand drawing arcs directly onto the quilt without using any templates, gizmos or gadgets. See post here.
- From Audrey at her “Quilty Folk” blog there was this one here which uses a rectangular template, with holes poked in it for your marking pen or pencil.
- Laurie Simpson in her and Polly Minick’s blog “Minick and Simpson” had an interesting post about Baptist Fan quilting with instructions on her method of marking, using free handed arcs drawn using a Hera marker or a chalk wheel marker. To see post click here.
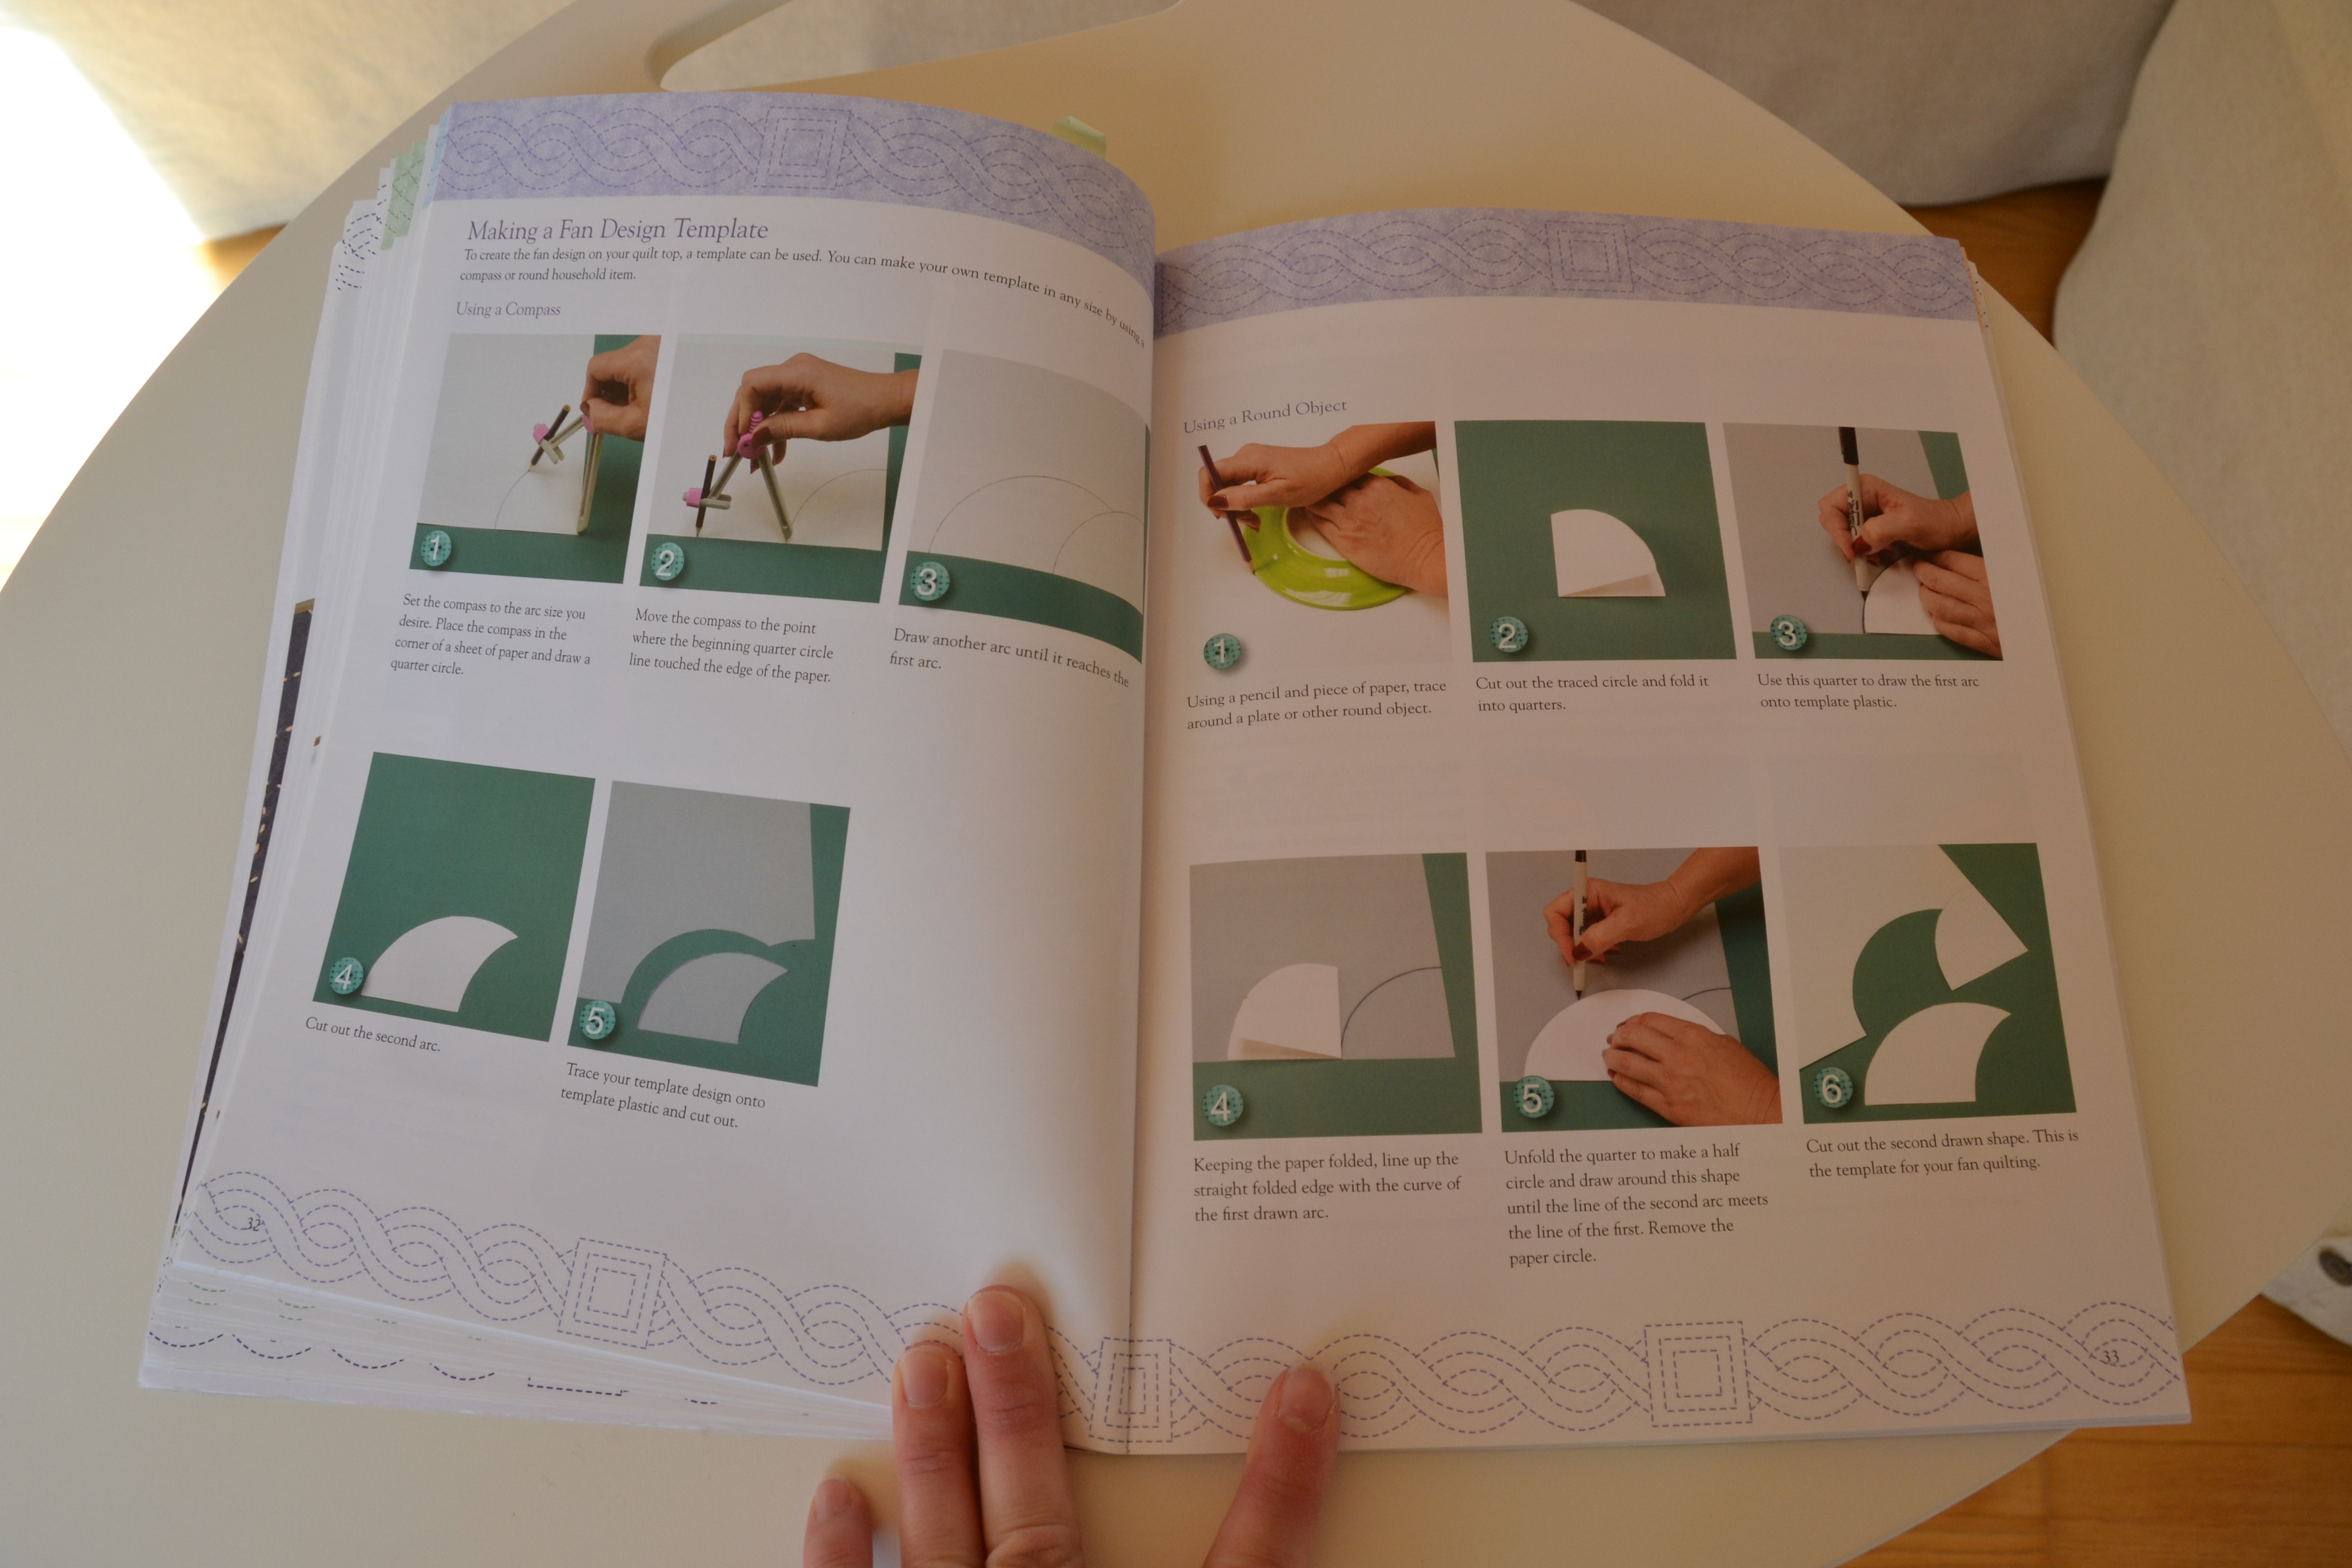
I ended up making a template, using a round object as noted in the instructions I found in Carolyn Forster’s book “Utility Quilting- Simple Solutions for Quick Hand Quilting” and combining the instructions with Bonnie Hunters.

I love the clear and simple instructions Carolyn uses to describe the process. This book is an excellent resource for hand quilting. (I bought it on our US Road Trip last summer at Friends & Co. Quilt Shop which is an amazing bricks and mortar store in Cody, Wyoming. You can click here to go to there website. Looking at the photos of their store, I so want to go back. Love their Bucking Bronco fabric!!)
To give the quilting process a bit of variety I decided to draw the design as I go along. I used a green chalk pencil from Fons and Porter see there website here.

The templates I used means that only the outer lines are uniform, and so, some times my free-hand arc is a good mirror of it, and other’s it is off a little and in some cases, a lot. (see photo above),
One tip I learnt quickly is to not draw these designs when you are either tired or having difficulty concentrating!
Personally, I think I would be happier with a more uniform design. If I have time, I think I will try to make the “Quilty Folk” style template or the method using a compass as suggested in Carolyn Foster’s book.
Should you decide to free-hand the design, I would recommend you practicing on a piece of paper, as I did, to see if you get the hang of it, before touching your quilt. You may decide, your curves are good as they are or you too need a more uniform approach.

Baptist Fan Quilting History
Unfortunately, I wanted to add a bit of information about the Baptist Fan pattern and it’s origins but I couldn’t find much information online, it is definitely a subject for further research. Laurie Simpson did add a small blurb in her post which I found very interesting. You can read that here.
Well I hope, I have inspired you to give Baptist Fans a try if you have never done so before and that you found the information useful. I know for sure this won’t be the last time I use this design in a quilt as it is beautiful and yet so simple!

Wish you all a quilty kind of day!
Jodie


Lots of great information – thanks Jodie! Enjoy your quilting and looking forward to visual progress!
LikeLike